Wednesday, May 30, 2012

Izaiah's Cowboy Party


 My nephew Izaiah turned ONE this past weekend and we celebrated Cowboy style! 


It all started with this adorable invitation design made by The Paper Cupcake
Grab a Hat ad Saddle Up sign inspired by this sign at MeandMadeline Cowboy and Cowgirl party.

Found this cowboy wall sign at Hobby Lobby, added the ribbon, rope and some photos with clothespins.  

Sweets table before the cake and guests arrived. 
Was not able to get any photos of the completed table after the guests arrived. With over 35 children at the party, I was a little distracted...hehe! 
Beautiful cake made by a friend of the family.
CUTEST Horsey cake pops made my Roni Sugar Creations! Inspired by this Zperfect Party Cowgirl party


YUMMY cowboy boots and hat cookies made by Roni Sugar Creations!  She really is the BEST in the WEST!


My niece asked me to make the tini candy jars and fruit cups like Julian's 6th Birthday BBQ.
Cow print balloons and wooden forks from Whimsical Printables.


Gorgeous bandana garland made by Bella's Attic. 


Guest tables included buckets of peanuts, photo centerpieces, and balloons. 


Cake was delicious!

Yee haw!! We all had a great time at Izaiah's 1st hoedown, nothing better than good ole' fun with family and friends! 


Happy 1st Birthday sweet buckaroo!! Look forward to helping your parents plan lots and lots more parties for you!


xoxo,
Claudia


* Happy Birthday Banner, photo centerpieces, labels, and favor tags will be available in the Etsy shop soon. 

Monday, February 27, 2012

Baby Sophia - DIY Newborn Photoshoot

We had the most precious tini visitor this weekend...our great niece Sophia. You might remember her black, white and pink baby shower I posted about hereBaby Sophia is a month old now, she is so sweet and lovable. To be honest I just wanted to squeeze her!

I could not resist the urge to play photographer for the day. With such cuteness how could I not right??!

Checkout my DIY photoshoot.

Items required:
Fabric (about 3 yards)
Clothing rack
Basket
Throw Pillow
Soft Blanket
A Newborn Tutu and Headband (Tini Divas...wink wink!)
A super cute baby : )

I used a clothing rack to hold up the fabric for the backdrop.
(I know ghetto style but it works.)
Clipped the fabric to the top of the clothing rack with clothespins (like this).

Placed a throw pillow inside a basket. Covered it with one of Izabella's baby blankets. Set up the backdrop and basket in the room that had the most natural light. 
Got her all dolled up in her new tutu and headband. Note ribbon tied tutus are better than elastic waist tutus when taking newborn photos. You can just untie and place over the baby. 

Then I just clicked away!
I know they are not close to the gorgeous photos professional photographers take. But it is always fun to play and do new things right??! Especially when you have a cutie like this in front of you!

I think we found our newest Tini model..welcome Sophia.  

Tuesday, January 17, 2012

DIY Canvas Photos

One of the nice things about my holiday break was that I was able to catch up on some things I needed to do around the house. For example hang these canvas photos in my little guy's room. He loves them and has been spending more time in his room since I hung them and well I like to think it is because of that..hehe! 


You might remember them from his Memorial Day 6th Birthday BBQ. 


As promised in the original post, here is tutorial on how to make them yourself. Yes I know it's been a while but better late than never right??! 

The whole project cost about $12.00, super easy and cheap to make. 


Purchased this photo fabric paper from Jo-Ann's but you could also use canvas paper (see below).

 Printed photos on the fabric paper. I was able to print two photos on one sheet for the smaller frames.


Purchased some different size wood frames at Dollar Tree, wrapped the photos around the frames, and used the staple gun to secure.  Stapled the fabric to the back of the frames, pulling the fabric to make sure it was tight.  You could also use a glue gun and/or wood plaques. To be honest the back is a total mess..but who is going to look at the back??

For the BBQ I just leaned them up against the mirror, did not worry too much about how I was going to hang them. So when I decided to hang them, I was so happy when I found the 3m Command Damage Free Picture Hanging Strips. So easy and you don't have to worry about wall damage. Beyond perfect!

I could have added some nice ribbon or craft paper to the sides to finish it up, but I did not...but I guess I could add it later! I really do think it is a nice touch.

Recently I have seen quite a few DIY tutorials on Pinterest, these are a few of my favorite, but involve Mod Podge (which I have never tried). 


Aren't the sides to this canvas so pretty??! You can find the tutorial to this great idea here.

Beyond love this one..I am thinking a big canvas for the master bedroom..it would be so fabuloso! Find easy tutorial here.

Remember Valentine's day is right around the corner and a super cute canvas would make a perfect gift for your loved ones. 

If you have any questions, please feel free to leave me a comment or email me claudia@tiniposh.com.

XOXO,
Claudia

Thursday, January 12, 2012

Silhouette + Heat Transfer + Fabric = LOVE

Happy New Year everyone!! I know it's the 12th, but this is my 1st post of the year! Wut Wut!!  Hope you had a fabulous holiday season. I sure did, taking a couple weeks off was the best decision ever. I think I will do that every year. It gave me the chance to truly enjoy my family, organize my home (sorta) and give myself some much needed me time. Like I said BEST decision ever!

Santa (the hubby) was extra nice to me too..gotta love him. He got me this new spankin' Silhouette! 


 Needless to say I was beyond happy and I have to admit a tini bit scared of it..hehe. It took me a couple weeks to test it out BUT guess what??! It is not that hard to use at all..I promise..check out my 1st test run...


I used this glittery heat transfer paper I had in stock ( you do not want to know how I use it before..yes the hard way!) 


Downloaded the image onto the Silhouette software added the text and placed glittery iron on heat transfer into the Silhouette, hit send to Silhouette, customize the cut setting, cut and it cut it perfectly!


Ironed the heat transfer onto the onesie..and PRESTO! (I probably should have ironed the onesie better..hehe..sorry it was a test run remember) 


This one was more easy peasy..just used text. The most ridic part is that you can use ANY FONT that you have on your computer..love that! 


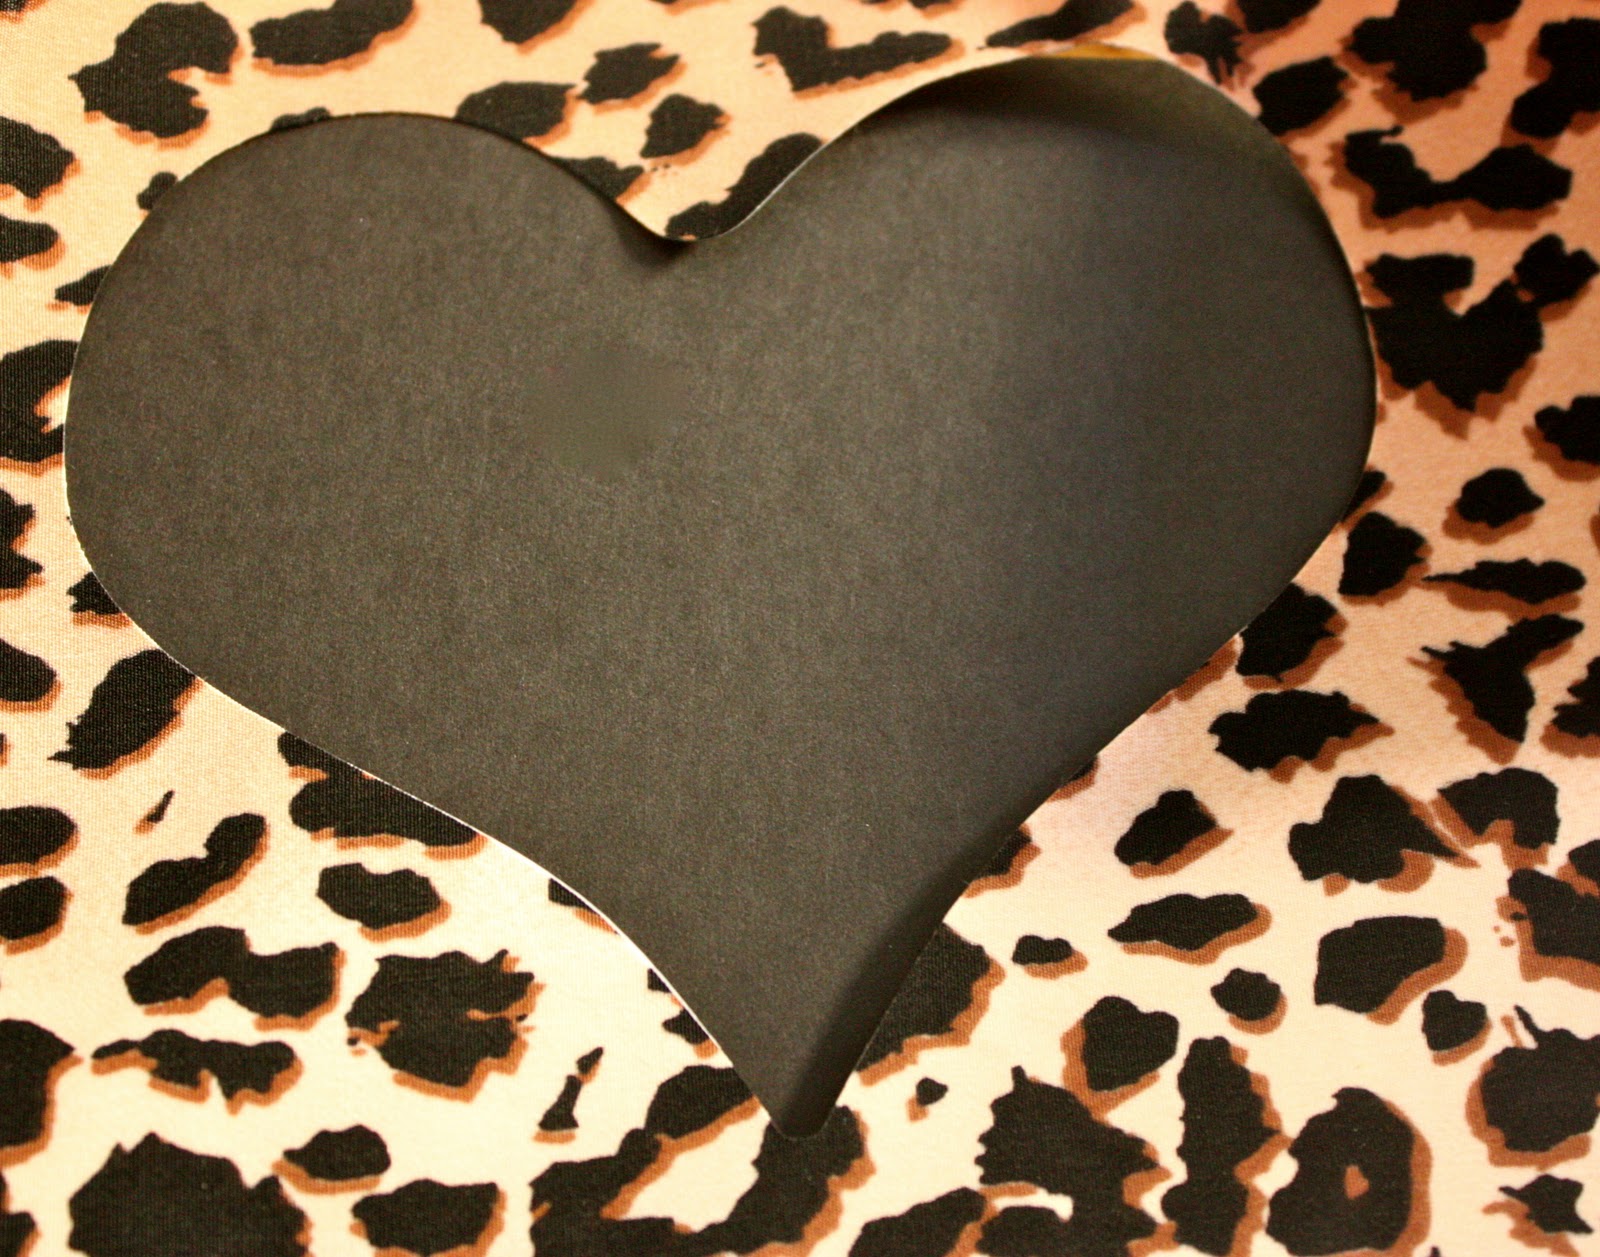
 I wanted to test cutting fabric too.. so I had some fabric left over from a party or something (who knows). Anyhow, I had read on their website that you could buy their adhesive and/or a start up kit ($39.00) well I am cheapo..I have this Heat n Bond iron on adhesive (like $4.00)..so decided to see how well that would work. 


I ironed the fabric to the adhesive..


Downloaded the image, loaded it onto the Silhouette, did the whole cut thing (see above).


Cut image perfectly...awwwe so nice!! No more hand cutting ever!!


Ironed it onto the shirt..added some bling..and..


TADA!!!

What do you think?? Pretty cool right??! Next thing on my must learn list is the print and cut option. It does look a little complicated, but lucky for me Stacy at She's Kinda Crafty has an awesome tutorial (find it here) that I am SO going to follow..and if I still cannot do it..I will ask my sweet friend the queen of the Silhouette Jill at Peas and Thank You's (see her genius work here) for help!

So to celebrate my new found love..I am giving away these three shirts. Just leave me a comment on Facebook (here) or blog telling me which design or designs you think I should add to the shop or if you have any suggestions on what I should make next..easy right.  Three winners will be selected using Random.org next Monday January 16th. Not a requirement but if you share giveaway with your friends and family it will be much appreciated! 

XOXO,
Claudia

P.S. Remember to leave your email address so I can contact you if you win..good luck!!

Wednesday, December 7, 2011

Sophia's Baby Shower (Pink, Black, and White Theme)

Who is baby Sophia you ask?? She is my soon to be great niece (yes I said GREAT)! My sister hosted the shower this past weekend. I was very happy when she asked me to help her with the decor. 

Mom-to-be requested a pink, black & white damask theme. She was prepared with tons of photos of things she loved. Which included a photo of a super cute banner made by Parker's Prints. This became the inspiration for the rest of the shower.

Super fluffy poms made by the lovely Carmen (Pom Flair).

Gorgeous wreath made by the fabulous Natalie (The Knock Knock Factory).

Adorable diaper carriage made by Jen (Squirmy Worms).


 Dipped Rice Crispy treats made by me..sorta (me no bake). 
 Beautiful and yummy cookies made by the very talented Roni (Roni Sugar Creations).

Cake and cupcakes made by my sister's friend Ana.

Delicious and gorgeous chili and carmel apples made by MKR Creations.
Flower arrangements made by me, this was my first attempt to make flower balls.. have to admit I failed..hehe! But in the end..I think it worked..kinda..right??

Super cute banner made by Stephanie (Parker's Prints).
Tables included baby bottles (added Martha Stewart Tinsel Glitter to give it a little sparkle) I was inspired by this pin on pinterest.  Boxes centerpieces inspired by this photo that was given to me by mama to be and runners made by me.
Clothesline included adorable tini clothes for baby Sophia.

Thank you to ALL the lovely and talented ladies that created such gorgeous work (Parker's Prints, Pom Flair, The Knock Knock Factory, Roni Sugar Creations, Squirmy Worms and MKR Designs). I could not have done it without you! You made the mama-to-be (my niece) very very happy!

Hugs and BABY kisses,
Claudia

Hover to Pin